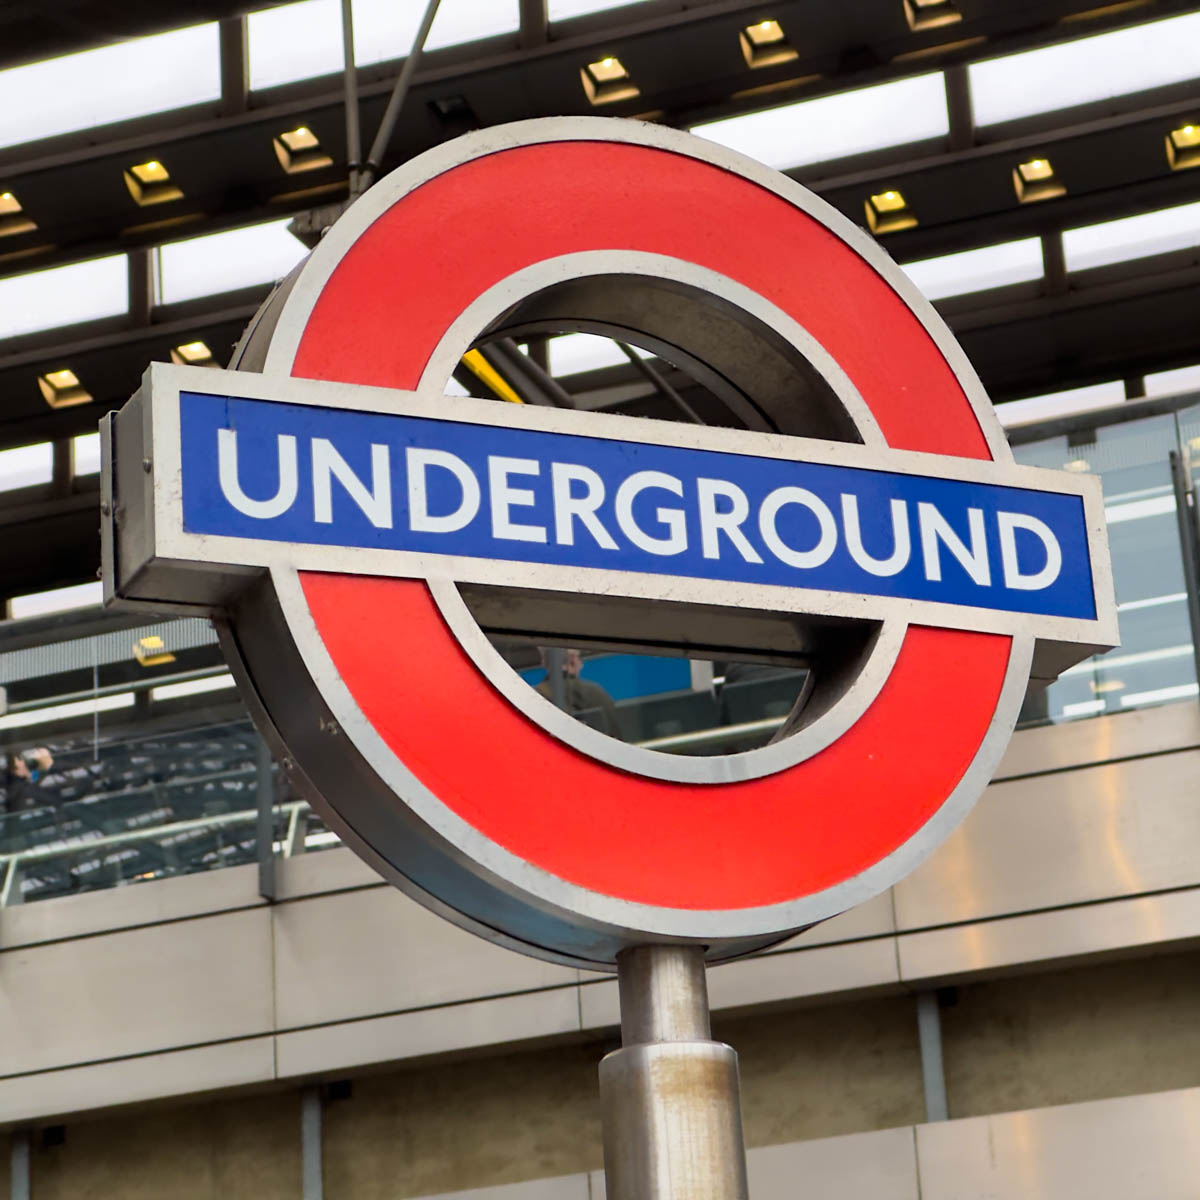
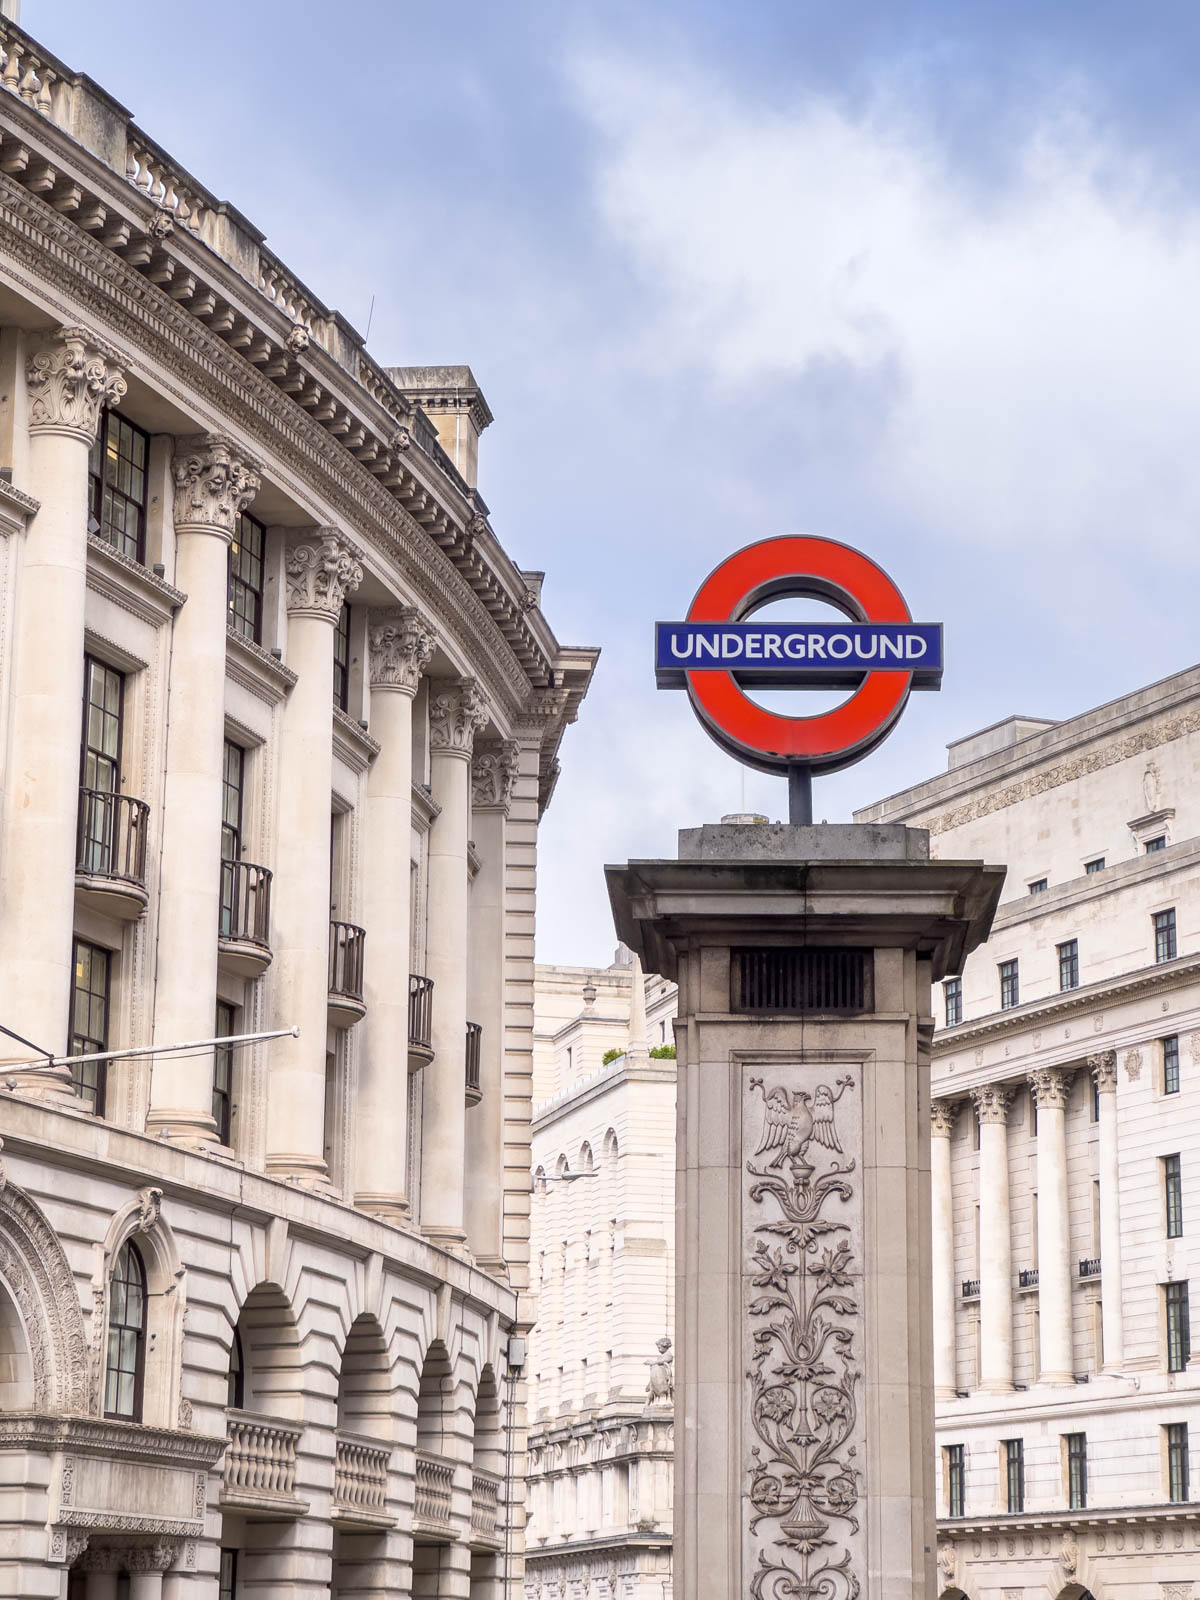
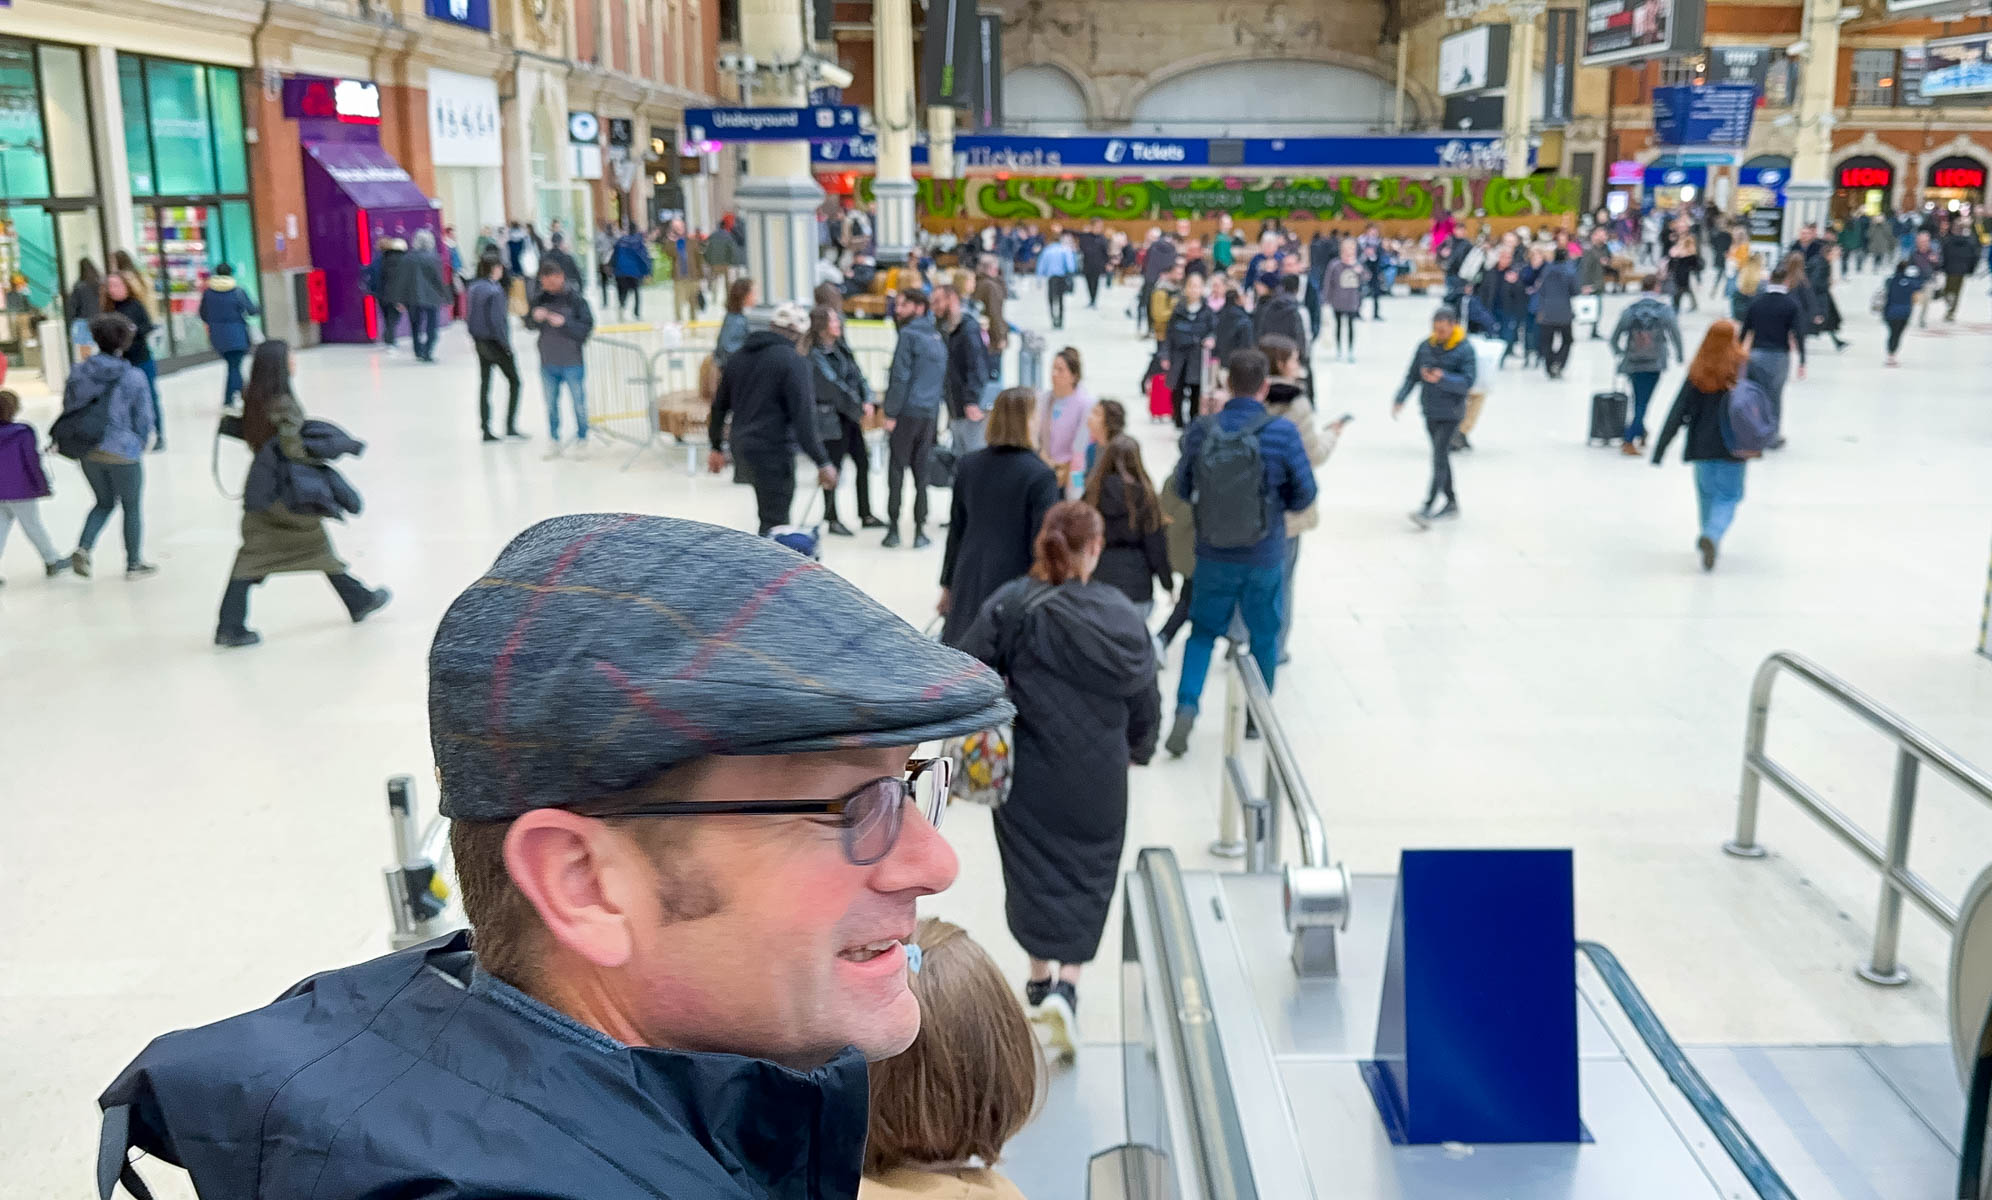
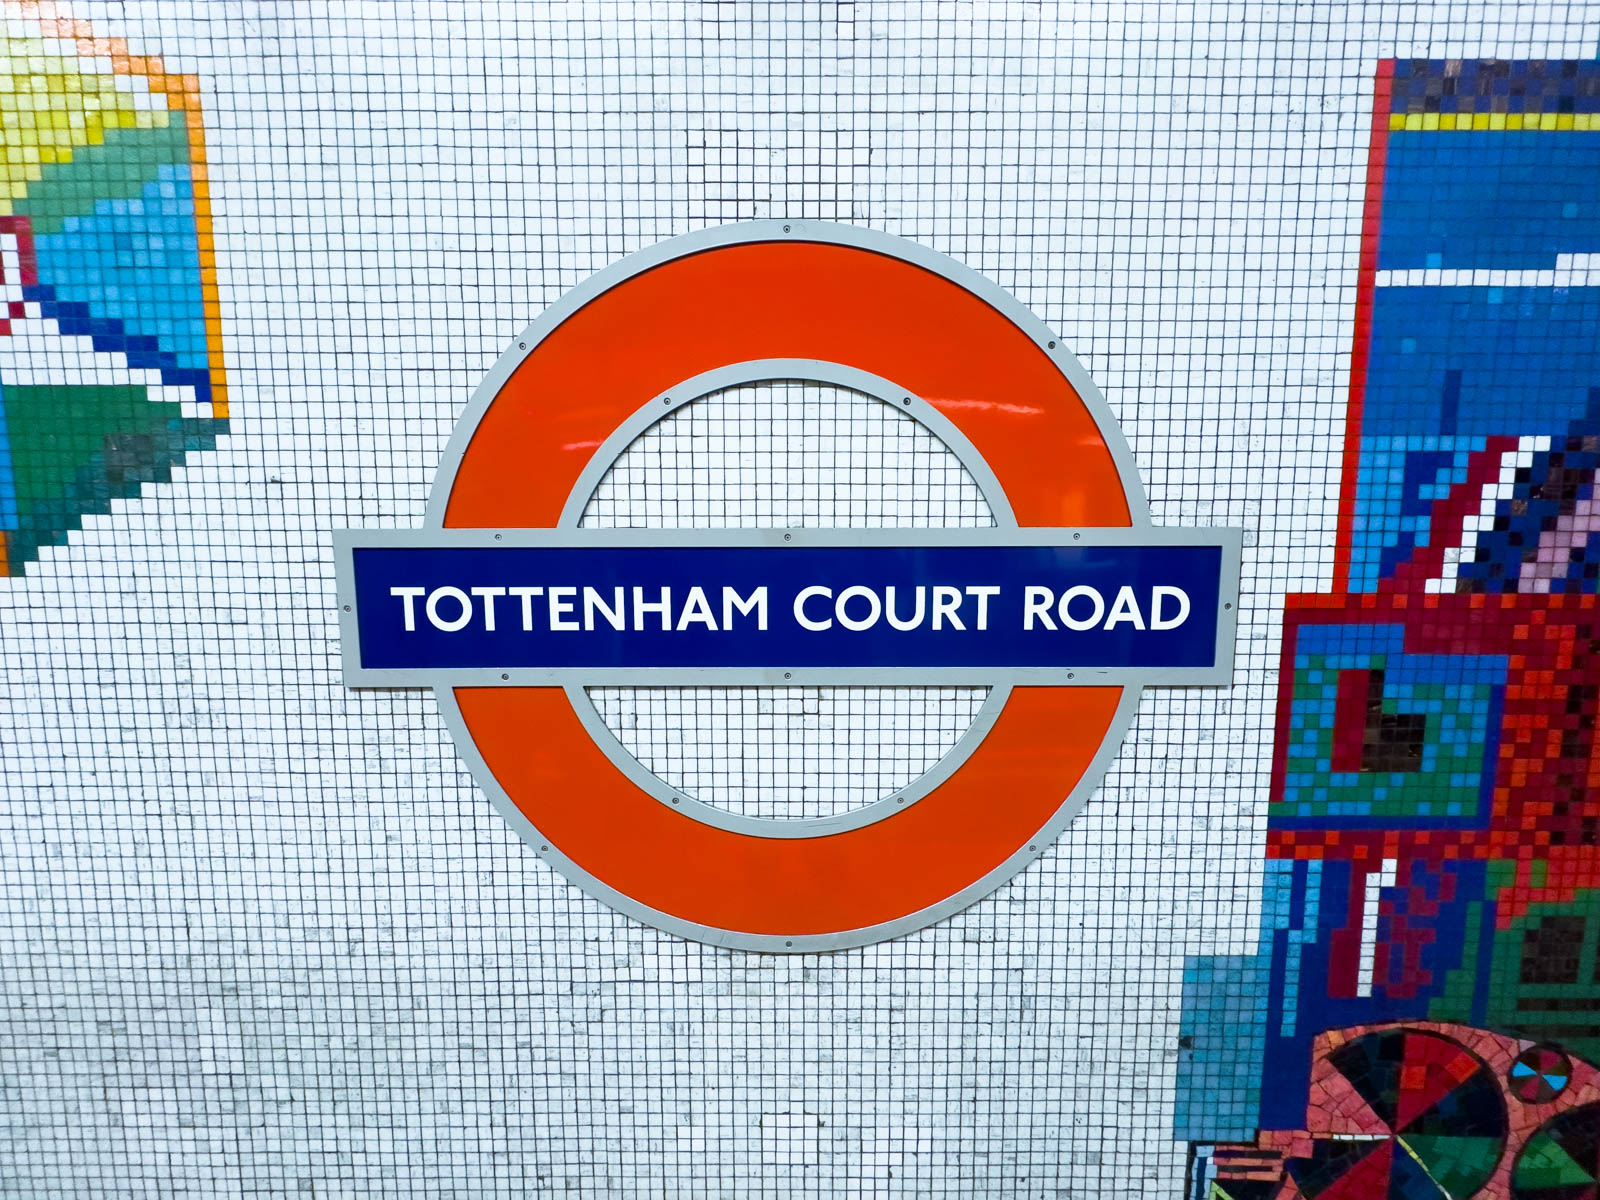
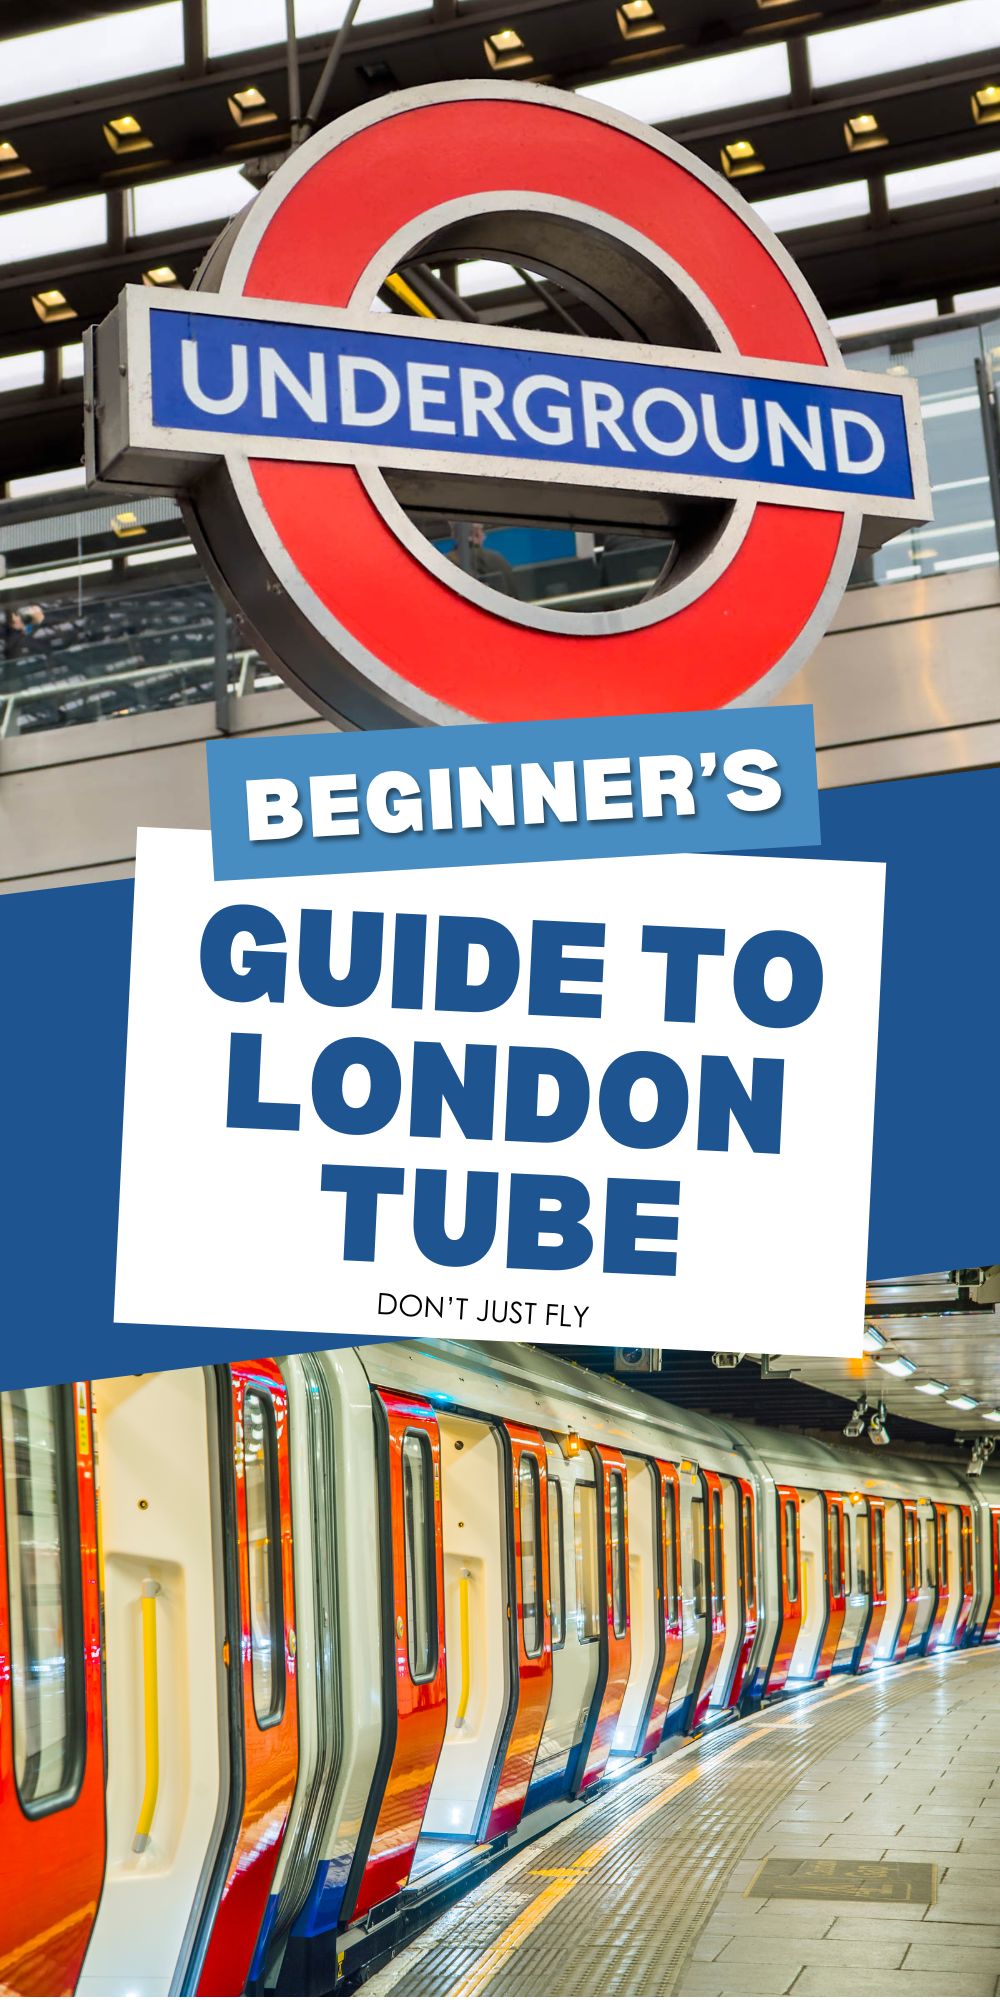
Jet-lagged and bleary-eyed, we survived. You can, too. These beginner-friendly tips will help you learn everything you need to know to use the London underground even on your very first trip. If you’re walking around in London, you’ll easily spot the signature bright red circular underground signs wherever there is a tube station. If you’re not close enough to see it yet, there are major road signs that point you to it all around. You can also pull up Google maps on your phone or use the Citymapper app to find the station you need. As total newbies ourselves, the train stations were very overwhelming and whipping out my phone for a picture wasn’t top of my mind. I laughed when I spotted this outtake of my husband riding the escalator down to the Victoria station near our AirBNB but I’m sharing it with you because it is the perfect example of what one of the larger stations looks like. You will enter the station through a major entrance or sometimes need to take stairs or an escalator down into the station. Follow the signs towards the train you need (more on figuring out which one that is in minute.) Before you actually get to the train, you’ll come to a waist-high turnstile gate with electronic scan pads at each station. Use your payment method to “tap on” as you enter. The turnstile will open and you will walk through. Find your train and ride it to your destination. When you leave the station, you’ll exit through another turnstile and “tap off” with the exact same payment method you used to enter. This closes the loop on your payment method and you’ll automatically be charged the proper fare for the distance you travelled. To ride the tube, you have no choice other than to have a payment option that lets you tap on and tap off at each turnstile. IMPORTANT NOTE FOR FAMILIES:Every single rider, including your kids ages 11 and up, needs to have their own separate payment method. You cannot share one payment method with two separate riders. Kids under 11 are free. Your payment options include: Before you head to England, decide which payment option you want to use. Here’s what you need to know in order to pick: Here are a few things to consider:
A visitor Oyster card has to be loaded with some amount to start and cannot be topped up. You’ll have to estimate how much money you want to put on the cards before you order them. Everyone 11+ needs their own card. There is a £5 activation fee before your fares begin, per card. You will pay a discounted rate over a regular Oyster card so there will be some savings. The cards MUST be ordered before your trip and can take up to 10 business days to arrive.
Also keep in mind there is a daily cap that limits how much you have to pay to ride the tube. If you plan to do a lot of exploring, you could reach the daily cap and then the remaining rides are free for that day. You can get all the latest fares and information about the Visitor Oyster card here. NOTE FOR KIDS:Kids ages 11 – 15 pay a discounted fare to ride the tube but you’ll have to take your visitor card to a stand when you arrive in London in order to have that discount applied to their cards. This is an excellent option for anyone who: The contactless payment method is an excellent choice because:
As long as their is money in your account or in your credit line, you’ll never run out of fare money for the tube. There’s no activation fee. It’s one less thing to worry about before your trip.
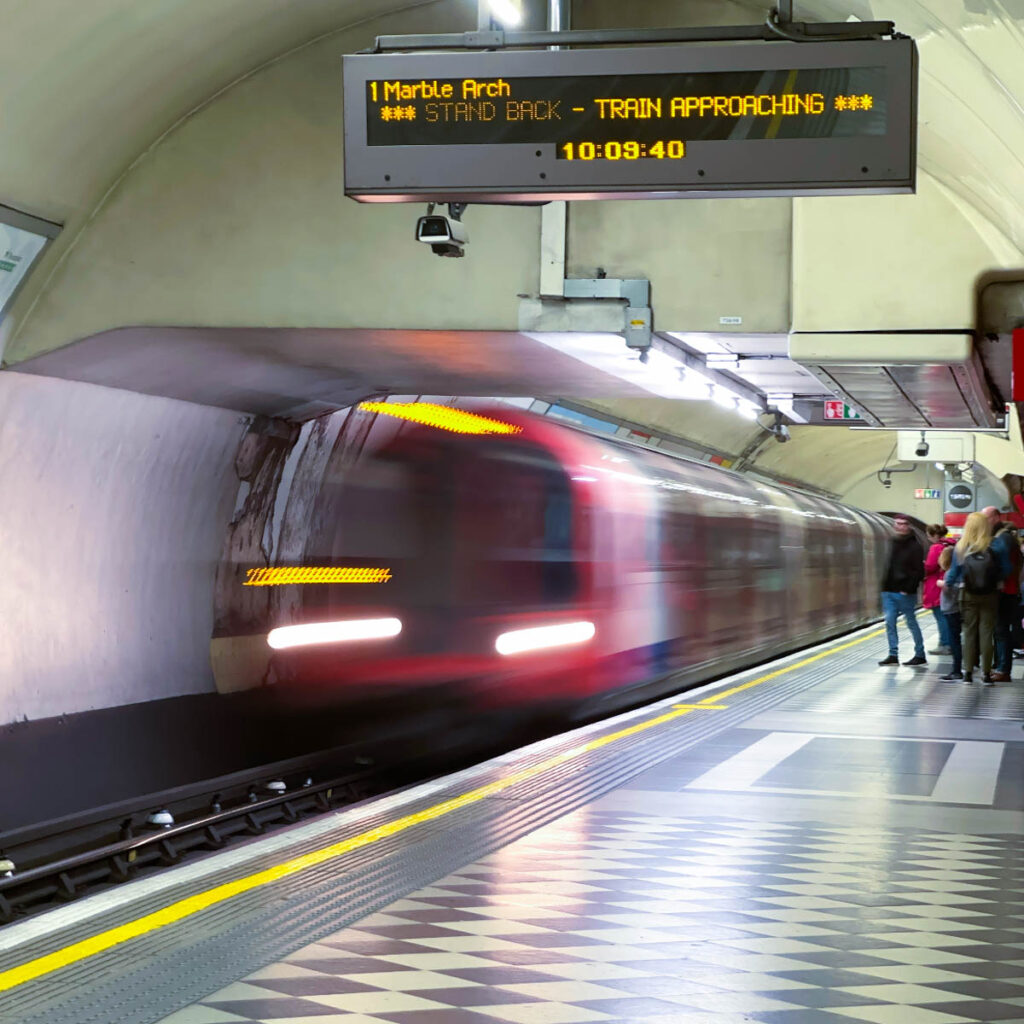
The only draw back is that every family member needs a payment method in their name. For my minor children under 18, I was able to set up an American Express card in their name underneath my own account. We loaded it into their Apple Wallet so that they could tap in on their own. Many major credit cards offer this same service. So check to see if yours is both foreign transaction-free AND would allow you to add your kids as users to your account. You’ll find tube maps on the wall of every station as well as inside every train. The stations are all well marked on the walls as you arrive so you’ll never miss your destination station. Unless you’re a total pro with public transportation, I strongly recommend that before you step foot inside a tube station that you follow my next tip for reading the map: It is totally free and the best, handiest app we used on the trip. You simply type in the destination you want to go and the app will tell you the best route to get there, including exactly which stations you’ll pass through and how to change lines if needed. Once you know the pattern of stations you’ll need to get where you want to go, simply follow the very-well marked signage at the station and you’ll have no troubles. The only time we had to ask for help was at the giant Victoria station for our first ride. The entrances to the train were quite a way away from the entrance to the station. There is a huge information kiosk in the center and lots of personnel around to answer questions, so don’t be afraid to ask for help. Although you may feel a little overwhelmed your first ride or two, there are a few important pieces of etiquette you need to remember even when you’re stressed: Riding the underground can actually be a very memorable part of your family vacation, especially if you take a little time for some strategic train riding to: